Saturday, June 19, 2010

My Garden

When we bought our house 2 1/2 years ago, the backyard was a complete wasteland.


The green wasn't grass, more like weeds and it was brown most of the year. The pathway around the edges wasn't practical or useful, and none of the plants had been tended to for years (our house was rented a long time before the original olders sold it to us) so they were overgrown or dead.
We live in a great starter neighborhood that's well located between the 101 and 280, and filled with small houses with lots of character. Built in the late 1940s for former WWII GIs as part of the huge suburban housing boom to provide homes for all the new young families. The original floor plans were three bedroom/one bath; many have been renovated and added onto in recent years. Ours has been renovated, but no additions; we have the original floor plan with one bath.


Originally we had plans to add a second bathroom and good-sized master closet. But the market being what its been, that plan is out; we're lucky to own our own home in this area at our age anyway. It's a little tight but it's just the two of us and we make it work. But the backyard was ugly and under-used because of it, so we've created a pleasant outdoor living space for eating, lounging and growing.

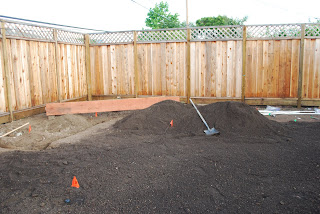
It took a little more than a month to plan and construct. We expanded the patio and used a green and purple color palette for plants and flowers.


To me the best parts are the vegetables, in the ground as well as two vegetable beds in the back.
I have never tried my hand at gardening before, but I'm going to give it a strong effort. Some fresh produce in the remaining years in this house would be great, not to mention the opportunity to share the process with my daughter as she grows.

Around the yard we planted blueberries and a persimmon tree,
as well as Japanese eggplant,
and Globe artichokes. These need more space and will be visually attractive when they mature.


In the beds I have cucumber

zuchinni,(I love their flowers),
Butter lettuce,


Early Girl tomatoes,


sweet basil,


dill,


Italian parsley,


and everbearing strawberries. I hope we get a few of these soon!


They are all looking great, except for the butter lettuce. I did a bit more reading after planting and discovered that, #1 I probably planted them too close together and, #2 planting was too late for the summer. I may cut my losses soon and replant in August/September for a fall crop.

For now, I check on them everyday and water deeply every other day. Two tiny green tomatoes have appeared, as well as some new zuchinni flowers and a tiny green nub of vegetable. The herbs are flourishing; ok so far!

~::::~

Wednesday, June 16, 2010

Berry Rush

What do you do when Costco is selling 6 half pints of raspberries for $8.99?

You buy them without a second thought. When one half pint can run from $5 to $7 ordinarily, I pounced on the opportunity to eat an obscene amount of these pricey berries.

It's a gluttonous luxury to have so many raspberries. What to do with them? That many half pints means I can snack on them with reckless abandon AND bake. For dinner with AAACS (minus one A who is away for the summer), I made the prettiest cupcakes that have ever emerged from my oven.
~
Full disclosure, I did not make these from scratch. I used cake mix and couldn't have been happier with my results, thank you very much.
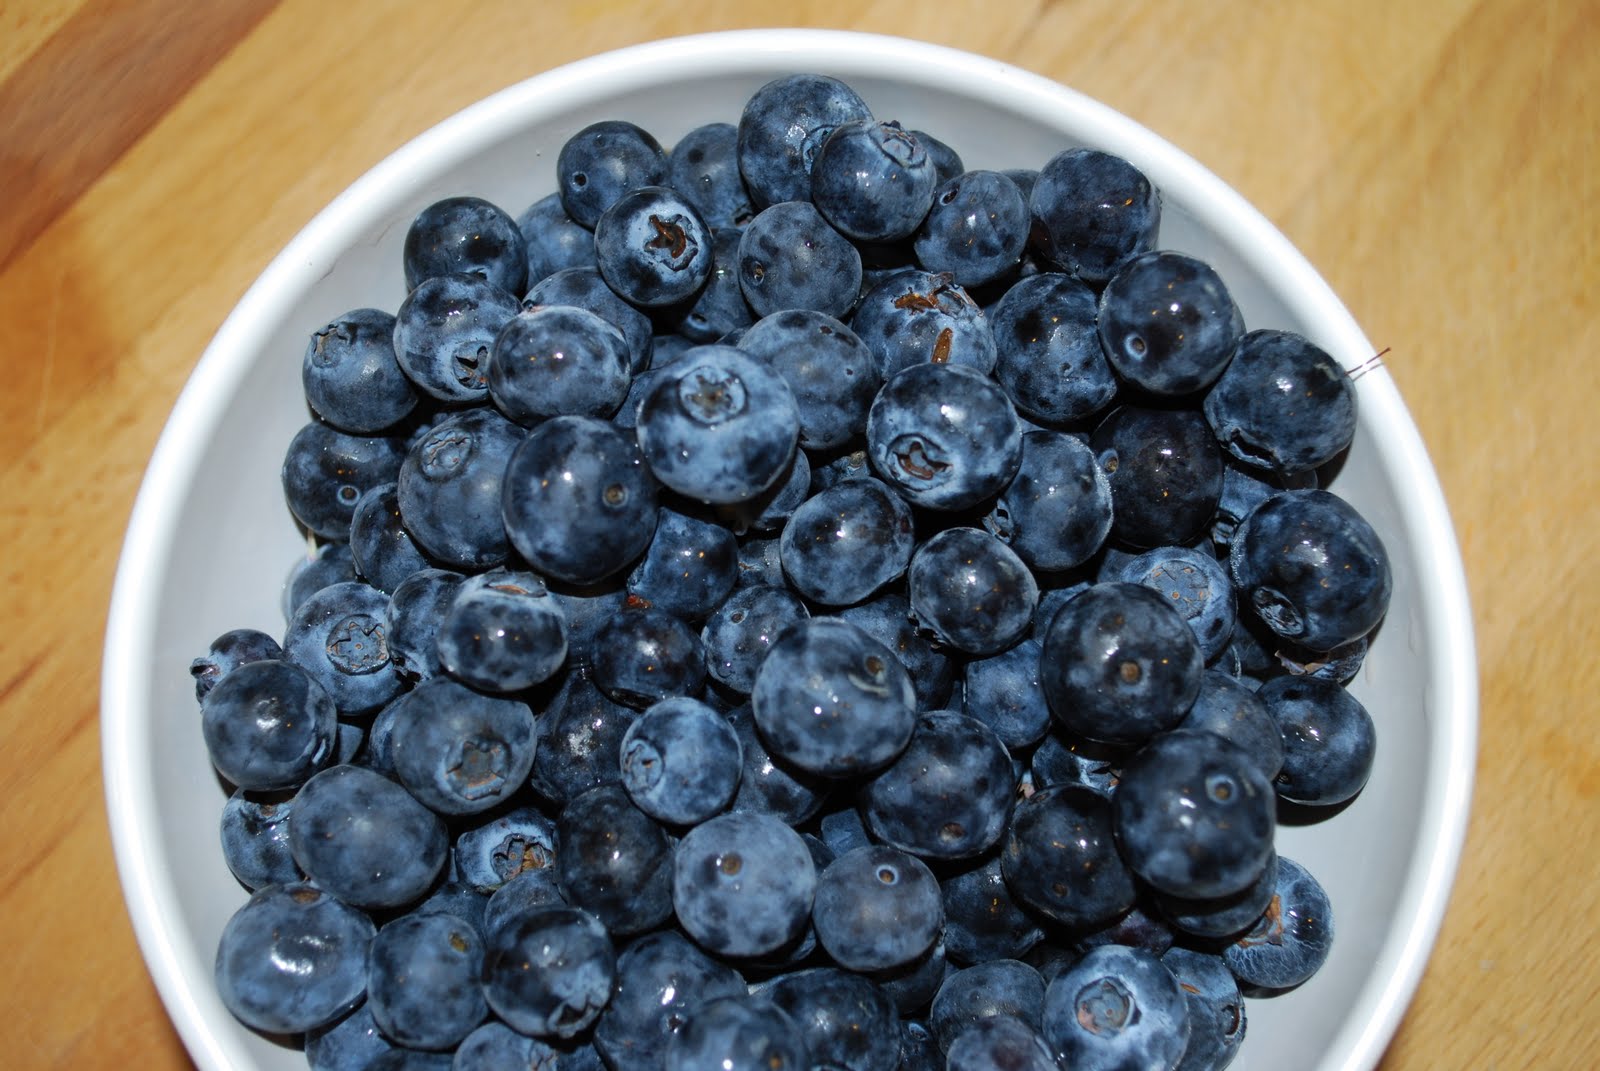
I prepared a french vanilla cake mix for my base and layering the berries in the batter and the icing. Before I touched anything else, I made a puree with one half pint:

Of course you must remove the seeds (crunchy seedy cupcakes? um no thank you).
Mmmm, soupy fresh raspberries. I could just eat this with a spoon. Resistance is good though.
I added a bit of puree to the batter before baking, stirring it in gingerly so it stays a little separate.
Is that enough?
No? How about a whole raspberry in the middle?
The whole berries sink during baking, but you have a soft and sweet berry center in each cake.
The icing is a classic cream cheese with raspberry puree added.
Another whole berry to crown the top, and you have a pretty perfect cuppycake.
The packaged cake mix makes 24 cupcakes or 2 8-inch cakes. I have one 12-cupcake pan, so I made 12 cupcakes and one 8-inch cake. Of course make one or the other if you are properly equipped. I served the cupcakes after dinner and the cake is wrapped in the freezer until Sunday when she'll be dressed for Father's Day.

Raspberry Cupcakes
24 servings

1 French Vanilla cake mix + 1 1/4 cup water, 1/3 cup vegetable oil, 3 eggs
2 half pints fresh raspberries, washed and drained
half a block cream cheese, room temperature
half a stick of unsalted butter, room temperature
8 ounces powdered sugar
1/4 cup fresh raspberry puree

Preheat the oven to 325 degrees Fahrenheit. Line cupcake pans with paper liners and spray cake pans with baker's spray.
Place one half pint of raspberries in a bowl and puree with a stick blender (or in the food processor). Place a fine sieve colander over a bowl and pour the puree into the sieve. Smoosh the puree through the sieve until all the liquid goes through and the seeds remain in the sieve. Discard the seeds and set the puree aside.

Prepare the cake mix according to the package directions, mixing the mix with the water, vegetable oil and eggs for 2-3 minutes with an electric mixer. Pour cake mix into pans (2/3 full for cupcakes). Using a small spoon, dollop a small amount of raspberry puree in the middle of each cupcake and gently swirl into the batter. For cake, scatter a larger amount across the top and gently swirl. Gently press a whole raspberry (from the second half pint) in the middle of each cupcake and throughout cakes.
Bake cupcakes for 22-24 minutes, cake for 28-30 minutes. Allow to cool on a rack for 10 minutes before removing from the pans. Cool completely before icing.

While the cakes cool, make the icing by whipping the cream cheese, butter, powdered sugar, and raspberry puree until smooth and fluffy. Apply using a flat spatula or knife and garnish with the remaining berries.

~::::~

Friday, June 11, 2010

Sea of Blue

This week's best thing about summer~


~::::~
Congratulations Matthew, graduating high school tonight!!

Wednesday, June 9, 2010

Seasonal

Eating seasonally is sensible and delicious, selecting foods at their peak when they are freshest and most bountiful (= cheaper too).
It's easy with the number of grocery stores and farmers markets many of us have access to. BUT it can also be difficult because of all that year-round access to almost anything. Feel like a dark stew with winter vegetables in August? Or peaches in February? You can probably get them if you look in the right places.
The month of May was unseasonably cool here, which sparked some meals that might otherwise suit colder months. Soups, chicken stew, pasta with robust tomato sauces. All delicious and worthy of mentioning here when the season is more timely.

This week it has warmed again (although we're expecting some showers today- showers in June in the Bay Area? rare, but I digress). Green salads and other light dishes are gracing the table once more.
I have a wonderful combination for you for a warm day when you can't manage much kitchen interaction: a chilled soup and quinoa vegetable salad.

You'll still need the stove and oven but their use is hands-off. It's a delicious light and balanced meal with protein (yogurt, nuts, quinoa), vegetables (bell peppers, cucumber), and grain group (quinoa). For more protein, serve with some seared scallops or grilled chicken. A cup of blueberries or cherries for dessert and if you're not satisfied, I'll give you your money back.


~:~

You know my affection for soups but they don't have to be just for chilly days. Soup will hydrate you, warm or cold. Cucumbers and plain yogurt mingle with red wine vinegar, garlic, and Tabasco to make a creamy and refreshing first course. My original recipe calls for mint; while mixing I realized my mint supply has just been bulldozed during backyard renovations! This batch was still delicious without it; add the mint for another layer of flavor.

Cucumber Yogurt Soup
serves 6 as an appetizer, 4 as a first course
1 cucumber, peeled
1 16 ounce container nonfat plain yogurt
1 cup cold water
1/4 cup olive oil
2 Tbs red wine vinegar
1/2 tsp Tabasco sauce
1 tsp salt
1 large garlic clove, smashed
(optional) 2 Tbs chopped fresh mint

Cut the peeled cucumber in half and scrape out the seeds. Cut the halves into strips and dice.

In a serving bowl, add the yogurt and water and whisk together. Add the oil, vinegar, Tabasco, salt, garlic clove, and whisk together thoroughly. Stir in the cucumber, and the optional mint. Chill in the fridge for at least 20 minutes or until ready to serve. Fish out the smashed garlic clove before ladling into bowls.


~:~

To pair with the soup, try this quinoa salad which can be served warm or at room temperature. The smoky and smooth roasted peppers contrast with the crunchiness of the almonds and bite of the quinoa.
I love quinoa, but I know a few people who don't. Substitute well-cooked brown rice or couscous if you haven't wrapped your brain around this grain that is not a grain (quinoa is more closely related to beets).
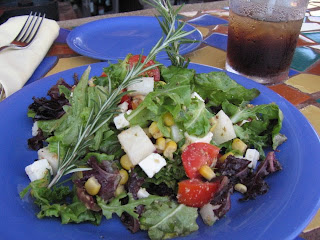
Roast the bell peppers and prepare the quinoa in advance, and I do recommend mixing the salad 15-20 minutes before serving to let the flavors soak in and mingle.

Roasted Bell Pepper Quinoa Salad
serves 3

3 bell peppers (I used one each red, yellow, and orange; any combo works)
1/2 cup quinoa, rinsed
1 cup water
2 Tbs olive oil
juice from 1 lemon
salt and pepper to taste
1/4 cup toasted sliced almonds

Preheat the oven to 400 degrees Fahrenheit. Line a baking sheet with aluminum foil and place the washed bell peppers on top. Bake for 40 minutes, turning the peppers every 10 minutes until the skin is blackened and soft. Remove from the oven and wrap the foil around peppers, pinching to seal. Let sit for 15 minutes before removing the skin and and chopping the peppers into diced strips.

Meanwhile, place the quinoa and water in a small pot and bring to a boil. Lower the heat and simmer for 10-15 minutes until the water is absorbed and the quinoa fluffy. Transfer to a serving dish and let cool slightly. Add the chopped bell peppers, olive oil, lemon juice, salt and pepper. Stir well to combine, and set aside for 20 minutes before serving. Just before dishing out, stir in the toasted almonds.

~:::~

Thursday, June 3, 2010

Dreaming of Cabo

With less than a month until our beach vacation in Mexico, I can hardly think of anything else.
So I dwell on our last visit~


For more of our amazing trip and this beautiful place, check my original posts:

Return from Paradise

Not your average trip to The Office

Siempre at Pacifica

~::::~